How to make a Christmas lights garland

This colourful paper craft is an easy little project that will brighten up your home for Christmas, no powerpoints required!
You will need
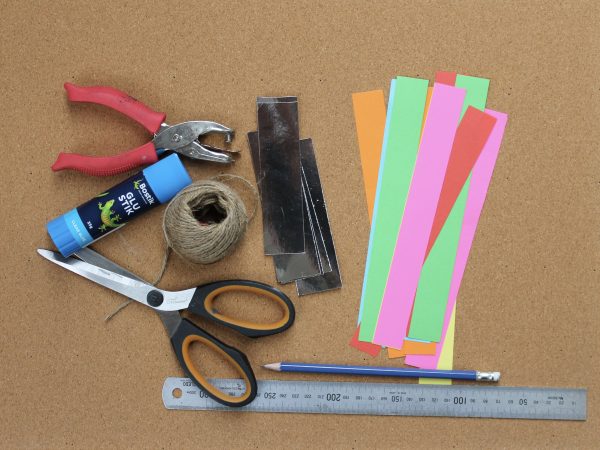
Silver card stock
Strips of coloured paper 2.5cm x 22cm
Glue
Hole punch
Pencil
Ruler
Scissors
Craft knife
Jute string
Instructions
- Cut the silver card stock into pieces: 3.5cm x 12cm. Cut as many pieces as you have lights, as these will form the base of each light.

2. Score the silver paper at 1.5cm intervals. Mark the third and sixth section with a dot.
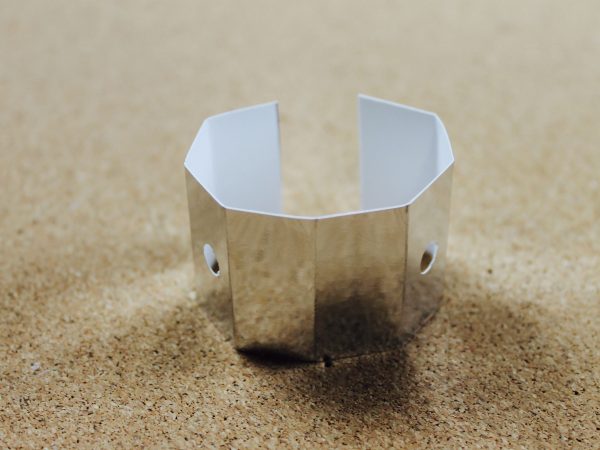


3. Fold the silver paper at the score lines and use a hole punch to punch two holes where you previously marked.
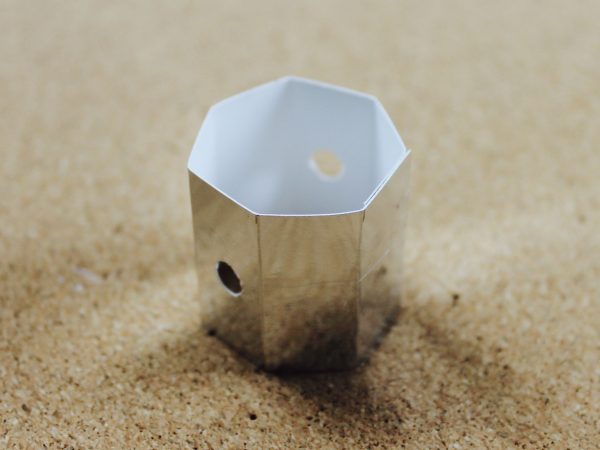
4. Take the two ends, overlap them and glue to form a hexagonal shape.

5. Take one coloured strip and fold it in half. Now glue it at one end.
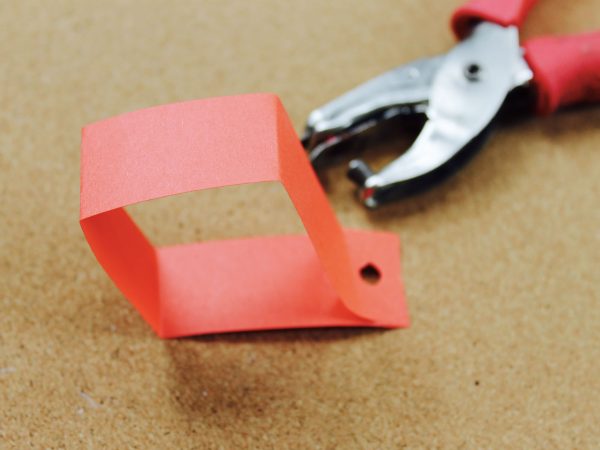
6. Bend out the sides to form a light shape. (You could also leave it as a tear-dropped shape without the folds at the sides.) Punch a hole through the glued end of the strip.

7. Place the coloured light inside the silver base and thread some string through both the holes in the base and the holes in the end of the coloured strip.

8. You have made your first light! Keep making them until you can make no more.
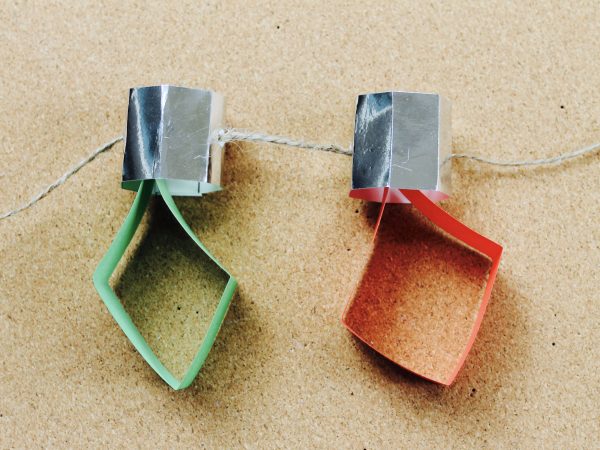
9. String them together and display them over a window or doorway.